There are two kinds of diamond painters: those who’ve had drills pop off their canvas mid-project, and those who haven’t gotten to that part yet. Give it time. It’ll happen. And when it does, you’ll do what we all do - stare at the canvas like it personally betrayed you, then frantically Google “why won’t my diamonds stick.”
Good news: your canvas isn’t broken, you probably didn’t get a defective kit, and you definitely don’t need to start over. The stickiness issue is almost always about how you’re exposing (or overexposing) the adhesive while you work. I’ve been there more times than I’d like to admit, and the fix is surprisingly simple once you understand what’s actually going on with that adhesive layer.
Why Does a Diamond Painting Canvas Lose Its Stick?
The adhesive on your canvas is pressure-sensitive! That means it activates when you push something into it - your drills, your fingers, your cat’s paw when they inevitably walk across your workspace at 11 PM. But it also means the adhesive reacts to everything it touches, including air.
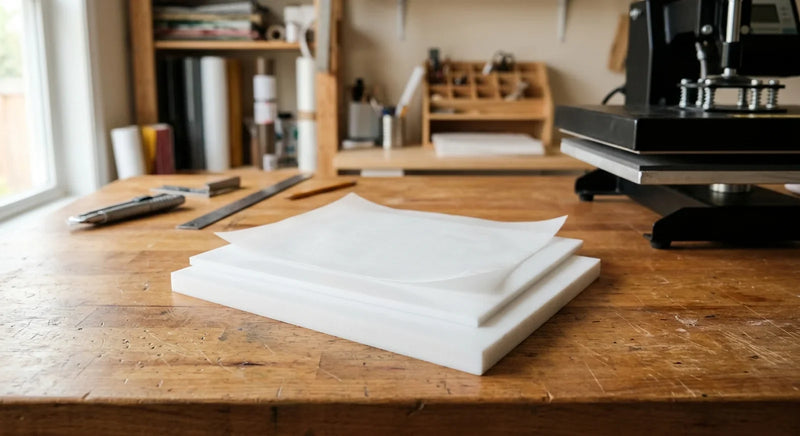
Diamond painting release paper is a silicone-coated cover sheet that protects the adhesive surface of a diamond painting canvas from dust, pet hair, and accidental contact while allowing crafters to work on one section at a time.
Here’s what actually kills the stickiness:
Dust and debris. Every minute your canvas sits exposed, microscopic dust particles settle on the adhesive. After about 30 minutes of open-air exposure, you can literally feel the difference. After a few hours? That section is basically wearing a dust sweater.
Humidity and temperature. If you’re working in a room above 80°F or in high humidity, the adhesive gets softer and loses its tack faster. On the flip side, cold environments (below 60°F) make it stiffer and less responsive. The sweet spot is somewhere around 68-75°F with moderate humidity.
Skin oils. This one’s sneaky. Every time your hand brushes the exposed adhesive - even briefly - you’re leaving behind oils that break down the stickiness over time. And if you’ve just applied hand lotion? Forget about it. You might as well be rubbing butter on your canvas.
Prolonged exposure. The plastic cover film that comes with most kits is there for a reason. But here’s the problem: it’s not great at its job. Those plastic covers tend to peel off too much canvas at once, they don’t reseal well, and they end up being more frustrating than helpful. But most people ditch them within the first session.
How Do You Work Section by Section Without Losing Your Mind?
The single most effective thing you can do is never expose more canvas than you can finish in one sitting. That sounds obvious, but watch yourself next time - most of us peel back way more than we need because the plastic film is annoying to deal with.
Here’s the approach that actually works:
Step 1: Instead of fighting with the original plastic cover, replace it with craft release paper cut to fit your canvas. Silicone-coated release paper sits flat, peels cleanly, and can be repositioned without pulling up drills you’ve already placed. It’s a different experience from that clingy plastic film.
Step 2: Cut or fold the release paper to expose only a 3-4 inch section at a time. This gives you a manageable working area - roughly 15-20 symbols depending on your canvas resolution.
Step 3: When you finish a section, smooth the release paper back over the completed area AND the unused adhesive. The paper protects both from dust and accidental contact.
Step 4: Move to the next section. The beauty of release paper is that it doesn’t stick to placed drills the way plastic film does, so you can overlap onto finished areas without disaster.
I timed this once out of curiosity. Working in small sections with proper coverage, I lose maybe 2 minutes per session on paper management. Without it, I was spending 10+ minutes trying to fix sticky spots and reattach drills. The math is pretty clear.

What Can You Do When the Adhesive Is Already Compromised?
So you’ve already exposed too much canvas and now parts of it feel like a dried-out sticker. Don’t panic. You’ve got options, and they range from “easy fix” to “slightly annoying but still works.”
For light dust contamination: Use a lint roller or a piece of painter’s tape to gently lift the dusty area. Don’t rub - press and lift. This pulls surface debris off without damaging the adhesive underneath! It works surprisingly well for areas that have been exposed for a few hours.
For areas that feel tacky but weak: Try pressing your drills a little more firmly. The adhesive might still have enough tack to hold if you really push the drill into position. A craft roller or even a heavy book laid over the finished section for 20 minutes can help seat drills that feel loose.
For seriously dried-out sections: This is where people get creative, and not all the advice out there is great. I’ve seen people recommend hair dryers (risky - too much heat warps the canvas), rubbing alcohol (destroys the adhesive), and even Mod Podge (creates a mess). What actually works is a thin layer of diamond painting-specific adhesive or craft glue applied with a toothpick. Yes, it’s tedious. But it saves the section.
For prevention going forward: Once you’ve rescued the compromised area, cover it immediately with release paper. Learn from the experience. Future you'll be grateful.
Does the Type of Cover Sheet Actually Matter?
Short answer: absolutely. And this is where I get a little opinionated.
The plastic film that comes with most kits is designed to be cheap and disposable. It does the bare minimum. It works until you try to reposition it, at which point it sticks to itself, sticks to your drills, and somehow also doesn’t stick to the areas you need it to cover. It’s the participation trophy of diamond painting accessories.
Parchment paper is the budget alternative a lot of crafters try first. It’s better than plastic film, but standard parchment isn’t silicone-coated on both sides and tends to absorb moisture. It also tears easily, especially on larger canvases where you need to reposition it frequently.
Silicone-coated release paper is what most experienced diamond painters end up using. The silicone coating means it releases cleanly from the adhesive without leaving residue or pulling up drills. It lays flat, doesn’t curl at the edges, and you can reuse the same piece across multiple sessions. A single sheet typically lasts 2-3 projects before the coating starts to wear.
The difference matters most on larger canvases - anything over 30x40cm. On a small 20x20 canvas, you can probably get away with the original plastic. But once you’re working on a 50x70cm piece that takes weeks to complete, proper coverage isn’t optional. It’s the difference between a smooth experience and a frustrating one.

How Should You Set Up Your Workspace for Maximum Stickiness?
Your environment affects adhesive performance more than most people realize. A few adjustments make a real difference:
Temperature control. Keep your workspace between 68-75°F if possible. I know that’s not always realistic (my craft room is also my living room, and my roommate runs cold). But if you can avoid working in extreme temperatures, do it.
Clean hands. Wash your hands before each session and keep a small towel nearby. Skip the hand lotion until after you’re done. If you've naturally oily skin, cotton gloves work but they feel ridiculous - I’ll just be honest about that.
Flat surface. A wobbly or angled surface means your cover paper doesn’t sit flush, which means air gaps, which means dust getting under the edges. Work on a flat, stable table. A large cutting mat underneath keeps everything from sliding.
Storage between sessions. When you’re done for the day, make sure every inch of exposed adhesive is covered with release paper. Then lay something flat and moderately heavy on top - a large book, a clean cutting board, whatever. This keeps the paper pressed against the adhesive and prevents edge lift overnight.
Keep pets away. I say this with love and from experience. Cat hair on diamond painting adhesive is a special kind of nightmare. If you have furry companions, a canvas cover or a dedicated storage case with a lid is worth considering.

How Do You Troubleshoot Common Stickiness Problems?
Problem: Drills won’t stick at all in one specific area. Fix: That spot probably got contaminated. lift with painter’s tape first. If that doesn’t help, apply a tiny dot of clear craft glue with a toothpick.
Problem: Drills stick initially but pop off after a day. Fix: They weren’t pressed firmly enough. Go over finished sections with a roller or lay a book on top for 30 minutes.
Problem: The entire canvas feels less sticky than when you opened it. Fix: You’ve probably been exposing too much at once. Cover everything with release paper, work smaller sections, and the remaining areas should still have good adhesive.
Problem: Cover paper is pulling up placed drills when you move it. Fix: Switch to silicone-coated release paper. Regular paper and plastic film have too much grip. Silicone coating releases cleanly without disturbing your work.
Problem: Canvas curling at the edges makes it hard to keep paper in place. Fix: Place heavy objects (books, weights) on the corners while you work. Some crafters use low-tack washi tape on the edges to hold the canvas flat.
Shop Related Products
What Should You Remember?
Keeping your diamond painting canvas sticky isn’t complicated, but it does require a small habit change: stop exposing more canvas than you can work on right now. Cover everything else. Use release paper instead of the plastic film that came in the kit. Keep your workspace clean and temperature-controlled.
That’s it. No magic products, no elaborate rituals, no YouTube hacks involving a hair dryer and prayer. Just work small, cover what you’re not using, and your adhesive will last the entire project.
And maybe keep the cat out of the craft room. Just a thought.