Quick math: a pack of 100 custom stickers from an online printer costs $30-60 depending on size and finish. A single roll of printable sticker paper, an inkjet printer you probably already own, and a decent cutting tool? Worth it. About $15 total, and you’ll get 200+ stickers out of it. The economics aren’t even close.
I started making stickers at home two years ago to label products for a craft fair. Now I make them for everything - packaging, gifts, planners, my kid’s lunchbox. The setup is simpler than most people expect, and once you’ve got your workflow down, you can go from design to finished sticker in under 10 minutes.
What Do You Actually Need to Make Stickers at Home?
Here’s your shopping list, stripped down to what matters. No filler items, no “nice to haves” disguised as essentials.
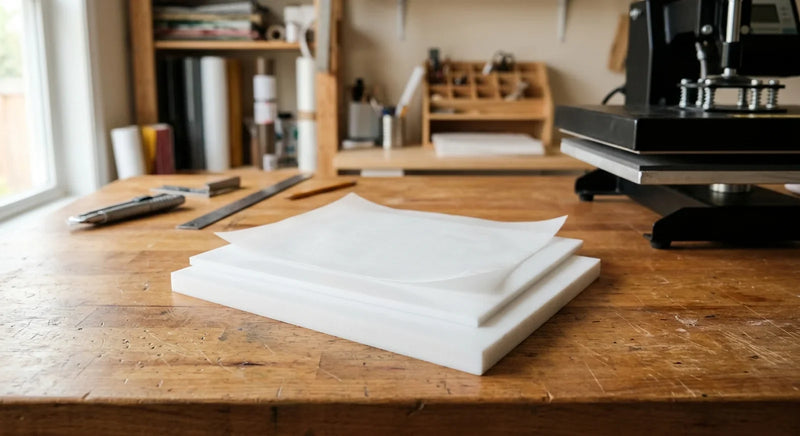
Silicone release paper is a silicone-coated protective sheet used in crafts, baking, and industrial applications that provides a non-stick surface for diamond painting, heat press projects, resin work, sticker making, and food preparation.
The non-negotiables: printable sticker paper (glossy or matte, your call - glossy pops more but shows fingerprints), an inkjet printer (laser printers overheat sticker paper and jam), and something to cut with. That’s it. Three things.
For cutting, you’ve got two paths. Manual cutting with scissors or a craft knife works fine for simple shapes - circles, rectangles, basic outlines. If you want precise die cuts or kiss cuts, a cutting machine like a cutting machine or cutting machine Cameo pays for itself fast. I resisted buying one for months. Wish I hadn’t waited.
Optional but useful: a laminate sheet or clear overlay film to waterproof your stickers. Inkjet prints aren’t water-resistant on their own, so if your stickers need to survive a dishwasher, water bottle, or outdoor use, this step matters.
One thing people overlook is backing paper. The sticker paper you buy comes with its own backing, but if you’re making custom stickers from regular printed paper (say, using double-sided tape or adhesive sheets), you’ll need heat-safe release paper as a peel-off backing. Silicone-coated release paper works best here because it releases cleanly without tearing your sticker.
How Do You Design Stickers Worth Making?
You don’t need expensive software. A free online design tool handles 90% of what most home sticker makers need. Set your canvas to the exact sticker dimensions you want, design away, and export as PNG with a transparent background. Done.
For more control, drawing app on iPad ($12.99 one-time) is fantastic for illustrated stickers. And if you’re already comfortable with vector design software, you’ve got everything you need for vector-based designs that scale to any size without losing quality.
A few design rules I’ve learned the hard way:
Keep at least 2mm of bleed around your design if you’re hand-cutting. This gives you room for minor cutting errors without slicing into your artwork. If you’re using a cutting machine, the software handles bleed automatically.
Bold, high-contrast designs print better than subtle watercolor-style art on most home inkjet printers. The printer resolution matters less than the color saturation. Crank your colors up about 10-15% brighter than you want the final sticker - inkjet printing on sticker paper always comes out slightly muted compared to what you see on screen.
Design in batches. Arrange multiple sticker designs on a single sheet to minimize paper waste. Most sticker paper comes in 8.5x11” sheets, and you can fit 12-20 small stickers (2” diameter) on one page. That’s $0.03-0.05 per sticker at home versus $0.30-0.60 from a print shop.

What’s the Difference Between Kiss Cut and Die Cut?
These two terms confuse beginners, but the difference is practical and important.
A kiss cut slices through the sticker material but not through the backing paper. You end up with a sticker on a sheet that you can peel off - think of the sticker sheets you bought as a kid. The backing stays intact, which makes kiss cuts ideal for sticker sheets, packaging inserts, and anything where you want a peel-and-stick experience.
A die cut slices through everything - sticker and backing - so you get an individual sticker with its own custom shape. Die cuts look more professional for individual stickers, but they’re harder to store and ship without release paper or a protective backing.
For home production, kiss cuts are easier and more forgiving. Your cutting machine does most of the work, and if the blade pressure is slightly off, you still end up with a usable sticker. Die cuts require more precise blade calibration and slower cutting speeds.
If you’re selling stickers or giving them as gifts, kiss cut sheets are the standard. They’re easier to package, they protect the adhesive until the customer peels them, and they look polished even with a home setup.
How Do You Actually Print and Cut?
The process is simple once you’ve done it twice:
Load your sticker paper into the printer with the printable side facing the correct direction (check your printer manual - it varies by model). Print a test page on regular paper first to check alignment and colors. Adjust brightness and saturation if needed. Then print on the sticker paper.
Let the printed sheet dry completely! This is the step everyone skips. Inkjet ink on glossy sticker paper needs 5-10 minutes to fully set. Touch it too early and you’ll smear your design. I keep a small fan on my desk specifically for this.
If you’re adding a laminate layer, apply it now while the sheet is flat and dry. Smooth it on from one edge to avoid air bubbles. A credit card or squeegee tool works perfectly as a smoothing tool.
For cutting machine users: import your cut file (most people use PNG with registration marks), set your blade depth to “sticker paper” or equivalent, and do a test cut on a corner first. Kiss cuts typically need less pressure than die cuts. Adjust in small increments - too much pressure and you’ll cut through the backing, too little and the sticker won’t peel cleanly.
For hand cutting: a sharp craft knife and a cutting mat give you the most control. Cut slowly, rotate the paper instead of the knife for curves, and replace your blade often. A dull blade tears sticker paper instead of cutting it cleanly.

How Do You Store Finished Stickers Properly?
Storage matters more than most people think. Humidity curls sticker paper, heat weakens adhesive, and stacking without protection causes stickers to stick to each other. I’ve ruined entire batches by tossing them in a drawer.
For kiss cut sticker sheets, stack them flat with a sheet of release paper between every 5-10 sheets. This prevents the adhesive edges from grabbing the sheet above. Store the stack in a resealable bag or a flat container. Keep them away from direct sunlight and heat sources.
For individual die cut stickers, the best storage I’ve found is small glass jars or clear containers sorted by design. You can see what’s inside without opening anything, and the rigid container prevents bending and curling. For larger quantities, a photo storage box with dividers works well.
Temperature control matters. Keep your sticker stash between 60-75°F. Anything above 85°F and the adhesive starts getting soft and clingy. Anything below 50°F and it gets stiff and may not stick properly when applied.
If you’re shipping stickers to customers or friends, place them between two pieces of cardboard in a rigid mailer. The cardboard prevents bending, and a sheet of release paper on top of the sticker sheet prevents adhesive damage during transit.

What Are Common Mistakes That Waste Time and Materials?
I’ve made every one of these mistakes personally, so consider this the “learn from my failures” section:
Printing on the wrong side of the sticker paper. Most sticker paper has a printable side and a non-printable side. They look almost identical. Mark one corner with a pencil before loading the printer. You’ll thank yourself.
Not checking ink levels before a big print run. Running out of cyan halfway through a 20-sheet batch means inconsistent colors across your stickers. Check levels before you start.
Cutting before the ink dries. Five minutes. That’s all it takes. Set a timer if you have to.
Using the wrong blade pressure on your cutting machine. Start lighter than you think you need and increase gradually. You can always cut deeper on a second pass. You can’t un-cut a sliced backing sheet.
Skipping the waterproofing step for outdoor stickers. Inkjet stickers without laminate will fade and bleed within a week of outdoor exposure. If there’s any chance the sticker gets wet, laminate it.
Shop Related Products
What Should You Remember?
Making stickers at home is one of those crafts where the barrier to entry is way lower than it looks. Printable sticker paper, a printer, and scissors will get you started today. A cutting machine and laminate sheets will level up your output when you’re ready.
The per-sticker cost at home is roughly one-tenth of what you’d pay a print service, and turnaround is same-day instead of two weeks. For small runs, prototypes, custom labels, or just making something fun, it’s hard to beat.
Start with a simple design, print five test stickers, and stick them on things. That’s the whole first lesson.
Ready to sell what you make? Our guide on starting a sticker business breaks down the costs, equipment, and best sales channels for turning your hobby into income.