So I got into resin crafting about a year ago, and I'll be real with you - I almost didn't start. I spent weeks reading forums and watching videos, and every other post made it sound like I was about to handle toxic waste while performing brain surgery. Turns out, most of what scared me was either outdated or flat-out wrong.
If you've been eyeing those gorgeous resin coasters and jewelry pieces on social media but keep talking yourself out of trying, this one's for you. Worth it. Here are six myths that keep beginners on the sidelines, and what's actually true.

Does Resin Give Off Dangerous Fumes That Make It Unsafe at Home?
Myth: Resin is too toxic and dangerous to use anywhere but a professional lab.
Reality: Look, I'm not going to tell you resin is as safe as finger paint. It's a chemical product and you need to respect it. But the idea that you need some industrial ventilation setup? That's way overblown.
Modern epoxy resins designed for crafting have come a long way from the industrial formulas people remember. The Environmental Protection Agency recommends basic precautions for working with epoxy: well-ventilated area, nitrile gloves, and avoiding skin contact. That's it for most hobby-scale projects.
I work in my spare bedroom with a window cracked and a small desk fan pushing air toward it. Been doing it for months with zero issues. And the key is airflow, not a $500 ventilation system. And if you're working on a silicone crafting mat or PTFE pressing sheet, cleanup is minimal too - which means less time exposed to uncured resin overall.
One thing I will say: if you've respiratory sensitivities or you're working with UV resin in enclosed spaces, bump up your ventilation. A respirator mask rated for organic vapors runs about $25 and lasts months. Small investment for peace of mind.
Do You Need Expensive Equipment to Get Started?
Myth: Resin crafting requires hundreds of dollars in specialized equipment before you can make anything decent.
Reality: My first resin project cost me under $40 total. And that included the resin itself.
Here's what you actually need to get going: a bottle of two-part epoxy resin ($15-25 for 16oz), silicone molds ($8-12 for a starter set), mixing cups, stir sticks, and gloves. That's the bare minimum and it's enough to make coasters, small trays, or jewelry pieces.
The fancy stuff - pressure pots for bubble removal, heat guns, massive pigment collections - that all comes later if you want it to. I made my first dozen pieces without any of it. Were they perfect? Nope. Were they cool enough to gift to friends and feel pretty good about? Absolutely.
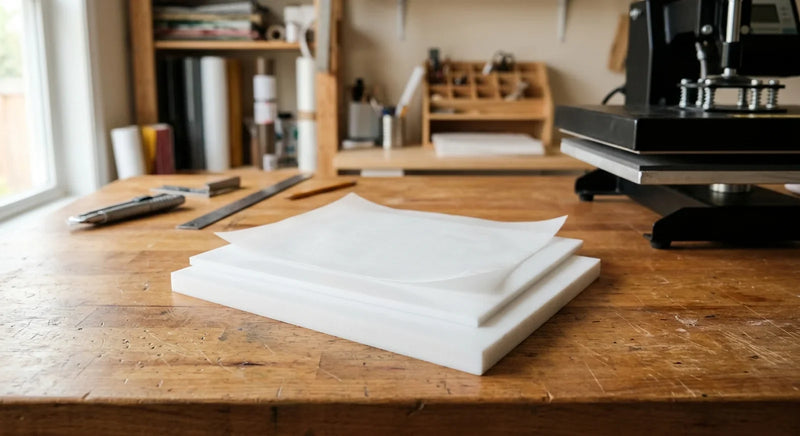
The one thing I'd add to the starter list that most guides skip: proper workspace protection. I ruined a desk before I figured this out. Regular plastic wrap tears and shifts around. What actually works is a silicone mat or non-stick release paper underneath your work area. Cured resin peels right off both of those materials. I wrote about this more in our guide to release paper for resin projects if you want the full breakdown.
What Happens When You Mess Up a Pour?
Myth: If something goes wrong during a resin pour, the entire piece is ruined and you've wasted all your materials.
Reality: I've messed up more pours than I'd like to admit. Bubbles, uneven mixing, color swirls that looked nothing like the Pinterest photo I was copying. And you know what? Most of those "mistakes" turned out fine. Some turned out better than what I'd originally planned.
Bubbles are the biggest beginner worry, and they're the easiest to fix. A quick pass with a kitchen torch or heat gun pops surface bubbles instantly. For deeper bubbles, a toothpick works just fine. If you catch them within the first 20-30 minutes of your pour, you're golden.
Mixed your colors wrong? Pour another thin layer on top once the first cures. Resin bonds beautifully to itself, so layering is actually a feature of the medium, not a hack. Scratches on a cured piece? Sand it with fine grit (400-600) and apply a thin clear coat. Good as new.
The only real "piece is dead" scenario is getting the resin-to-hardener ratio badly wrong! That leads to a sticky mess that won't fully cure. But if you're measuring carefully by volume and not eyeballing it, this almost never happens. According to materials research from MIT, proper stoichiometric ratios in two-part epoxies are what drive full polymerization - but in plain English, that just means follow the mixing instructions on the bottle.

Does Resin Really Take Forever to Cure?
Myth: Resin projects take days to finish because the cure times are impossibly long.
Reality: The timeline depends on the resin type, and it's shorter than most people expect.
Standard two-part epoxy resin has a working time of about 30-45 minutes after mixing. It starts to gel and harden within a few hours. Most pieces are solid enough to demold in 12-24 hours. Full cure - maximum hardness and clarity - takes about 72 hours, but you can handle and admire your work well before that.
UV resin is even faster. We're talking minutes under a UV lamp, not hours. It's perfect for small pieces like jewelry or keychains where you want near-instant results.
So the actual hands-on time for a basic coaster project? Maybe 20 minutes of mixing, pouring, and arranging. Then you walk away and let chemistry do its thing overnight. I usually pour in the evening, go to bed, and demold in the morning. It's become kind of a relaxing routine, to be real about it.
Do You Need Artistic Talent to Make Good Resin Pieces?
Myth: Resin crafting requires serious artistic skills or a design background to produce anything worth showing off.
Reality: The thing is, resin is one of the most forgiving craft mediums out there. The material itself does a lot of the visual heavy lifting for you.
Pour two or three colors of pigmented resin into a mold and gravity creates these amazing marble patterns automatically. Add some gold leaf flakes and suddenly you've got something that looks like it belongs in a home decor magazine. The self-leveling property of resin means you don't even need to spread it evenly - it finds its own level and creates a glossy, professional-looking surface on its own.
I've zero formal art training. My drawing skills peaked somewhere around middle school. But my resin coasters consistently get compliments because the medium is just naturally beautiful when you let it do its thing. Pick colors that go well together (when in doubt, two neutrals and one metallic), pour them in, maybe give a gentle swirl with a stick, and step back.
For anyone who wants more creative control, there are techniques like dirty pours, petri dish effects, and ocean waves that look incredibly complex but are really just specific pouring methods. A tutorial video and two practice runs is all it takes to nail most of them. The National Endowment for the Arts has noted that craft hobbies like resin work are among the fastest-growing creative outlets precisely because they're accessible to people without formal training.

Can You Just Use Kitchen Parchment Paper to Protect Your Workspace?
Myth: Regular baking parchment paper works fine as a surface protector for resin projects since it's non-stick anyway.
Reality: I learned this one the hard way and it cost me a perfectly good cutting board.
Parchment paper seems logical on the surface - it's non-stick for baking, so it should handle resin, right? Not quite. Most kitchen parchment has a very thin silicone coating designed for heat resistance up to about 425 degrees. It's not engineered for chemical resistance against epoxy. What happens is the resin seeps through pinholes in the coating and bonds to whatever's underneath! Trust me, peeling cured epoxy off a wooden desk isn't how you want to spend your Saturday.
What you actually want is either a proper silicone release paper with a substantially thicker coating, or a dedicated silicone crafting mat. The coating on true silicone release paper is much thicker than baking parchment and it's specifically engineered for chemical release, not just heat. We've covered the full comparison between silicone, PTFE, and FEP materials if you're curious about the science behind each option.
PTFE pressing sheets are another solid choice, especially for bigger pours. They handle both heat and chemicals without breaking a sweat, and you can reuse them hundreds of times. Way more economical than burning through roll after roll of grocery store parchment.
Pro Tip: Whatever surface protection you choose, tape the edges down to your work surface. Resin is self-leveling and will happily flow right off the edge of any sheet that isn't secured.
Shop Related Products
Getting your workspace set up right is half the battle with resin crafting. Kraft & Kitchen carries silicone release paper, PTFE sheets, and crafting mats designed specifically for messy craft work - everything peels clean after curing, so you can focus on creating instead of worrying about cleanup. Browse our resin craft supplies here.
If you've been putting off resin crafting because of any of these myths, consider this your nudge to just go for it. Start with something simple like a set of coasters or a small tray. Get your workspace protected, mix your resin by the instructions, pour, and walk away. You'll have something cool to show for it by tomorrow morning. And the learning curve? It's really pretty gentle once you stop overthinking it.