So you just pulled a shirt off your heat press, flipped it over, and there it is - a ghostly outline of your design burned right through to the back. I’ve been there. More times than I’d like to admit, actually. And the worst part? It’s one of those mistakes that feels like it should be easy to avoid, but somehow keeps happening.
The good news is that press-through (or bleed-through, same thing) is totally preventable. You just need to understand why it happens and set yourself up with the right barriers. I’ll walk you through everything I’ve learned the hard way so you don’t have to ruin another blank.

What Causes Heat Press Bleed-Through in the First Place?
Here’s the deal. When you press a design onto fabric, you’re applying heat and pressure from above. That heat doesn’t just magically stop at the vinyl layer - it keeps going right through the fabric. If there’s nothing between the front and back of your shirt, the adhesive from your HTV or the dye from sublimation transfers can migrate to the other side.
A few things make it worse. Thin fabrics like lightweight polyester are more prone to bleed-through than thick cotton. Higher temperatures (anything above 350 degrees) increase the risk. And longer press times give the heat more opportunity to push through. So if you’re pressing sublimation on poly at 400 degrees for 60 seconds, you’re basically asking for trouble unless you’ve got protection in place.
But it’s not just about the fabric getting marked. Press-through can also leave residue on your bottom platen, which then transfers onto the next project you press. One mistake snowballs into three or four ruined blanks.
How Does a PTFE Sheet Prevent Bleed-Through?
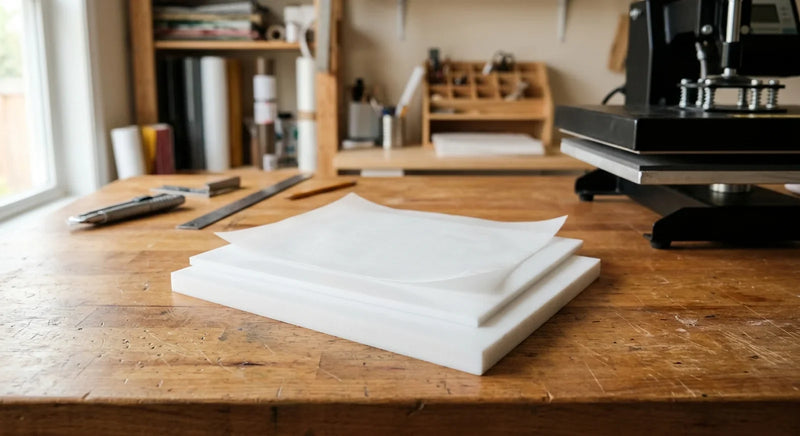
This is where PTFE nonstick sheets come in, and they make a massive difference. A PTFE sheet (sometimes called a Teflon sheet) goes on top of your design before you close the press. It creates a nonstick barrier between the upper platen and your project.
The thing is, PTFE handles temperatures up to 500 degrees without breaking down. It won’t melt, it won’t stick, and it distributes heat evenly across your design. That even heat distribution actually helps with adhesion too, so your transfers come out more consistent.
I keep two or three nonstick sheets in rotation. One goes on top, and I’ve got a spare ready when the first one starts looking worn. A quality PTFE sheet lasts through hundreds of presses before you need to replace it. Compare that to parchment paper, which basically falls apart after one or two uses. The math works out fast.
We’ve covered PTFE in more detail in our guide to nonstick paper for heat press projects if you want a deeper look at the different types.
What Goes Inside the Shirt to Block Press-Through?
Okay, so the PTFE sheet handles the top. But what about the inside of the garment? This is the step a lot of people skip, and it’s the one that causes most bleed-through problems.
You need something between the front and back layers of your shirt. Here are your options, ranked by how well they actually work:
Option 1: A silicone pad or mat. This is my go-to. A heat-resistant silicone pad slides right inside the shirt and absorbs excess heat before it reaches the back fabric. Silicone pads are reusable, easy to clean, and they don’t shift around like paper does. They also add a tiny bit of cushion, which helps with even pressure on seams and zippers.
Option 2: A PTFE pillow or sheet folded inside. Same concept as the top sheet - just tuck a piece inside the garment. It’s thinner than a silicone pad, which can be better for smaller items like baby onesies or tote bag pockets.
Option 3: Plain kraft paper or butcher paper. Look, it works in a pinch. But paper absorbs moisture and can wrinkle under pressure, which sometimes leaves marks of its own. I only use this when I’m out of everything else.
Whatever you use, make sure it’s slightly larger than your design area. You want full coverage so no heat sneaks past the edges.

Does Temperature Actually Matter That Much?
Short answer: yes.
Every HTV brand has recommended temperature and time settings, and those aren’t just suggestions. Going even 10-15 degrees over the recommended temp dramatically increases your bleed-through risk, especially on synthetic fabrics.
Here’s what I’ve found works for the most common materials. Cotton tees handle heat well - you can typically press HTV at 305-315 degrees for 12-15 seconds without issues. Polyester is trickier and needs lower temps, usually 270-290 degrees, because the fibers start to scorch above 300 degrees. Blends fall somewhere in between. And sublimation runs hotter (385-400 degrees), which is exactly why sublimation projects need the most protection.
I always do a test press on a scrap piece of the same fabric before committing to the real thing. Takes two minutes and saves you from that sinking feeling when you flip a shirt and see the ghost print. We talked about temperature mistakes and other common issues in our heat press mistakes article - worth a read if you’re still dialing in your settings.
What About Sublimation Bleed-Through Specifically?
Sublimation is its own animal. Unlike HTV where you’re pressing a vinyl film onto fabric, sublimation uses heat to turn ink into gas that bonds with polyester fibers. That gaseous ink goes everywhere if you don’t contain it.
For sublimation projects, I use what I call the sandwich method. It goes like this:
Step 1: Lay a piece of protective paper or a nonstick craft sheet on the bottom platen.
Step 2: Place the garment on the platen with a silicone pad or protective sheet tucked inside between layers.
Step 3: Position your sublimation transfer face-down on the fabric and tape it in place.
Step 4: Lay a PTFE sheet on top of everything before closing the press.
So you’ve got protection below, inside, and above. It sounds like a lot of layers, but once you get the routine down, it takes maybe 30 extra seconds. And it’s the difference between a clean press and a ruined blank.
One more thing about sublimation - that gaseous ink can also stain your press platen if it escapes. Cleaning dried sublimation ink off a platen is a pain. The protective layers aren’t just saving your garment - they’re saving your equipment too.

Can You Fix a Shirt That Already Has Bleed-Through?
I wish I had better news here. Once press-through happens, it’s pretty much permanent on most fabrics. The heat has already bonded the adhesive or dye into those fibers.
That said, I’ve had some luck with a couple of tricks on lighter bleed-through cases. Pressing a clean sheet of sublimation paper against the affected area sometimes pulls out a small amount of the transferred dye (basically reverse-sublimating it). And for HTV adhesive residue, a quick press with a PTFE sheet at low temp can sometimes lift the sticky residue.
But really? Prevention beats any fix. Having the right heat press supplies on hand before you start pressing is way easier than trying to rescue a ruined project after the fact.
According to the Consumer Product Safety Commission, understanding fabric heat tolerance is important not just for quality but for safety when working with high temperatures. The Chemours PTFE performance guide also confirms that PTFE maintains its nonstick properties across the full temperature range used in textile heat pressing.
Shop Heat Press Protection Supplies
If you’re tired of flipping shirts and finding ghost prints, it might be time to stock up on the basics. Our heat press supplies collection includes PTFE sheets and nonstick materials sized for standard heat press platens. For inside-the-shirt protection, check out our silicone pads and trivets - they pull double duty as craft mats when you’re not pressing. And if you’re looking for PTFE and FEP materials specifically, we’ve got nonstick sheets in various sizes.
Press-through is one of those problems that has a really simple fix once you know what you’re doing. A couple of protective sheets, the right temperature, and 30 seconds of layering prep - that’s all it takes. Your blanks (and your wallet) will thank you!
For a full checklist of everything you need in your pressing toolkit, check out our heat press essentials guide.