You spend hours placing drills. Hundreds of them, row after row, color after color. Then you pick up your canvas and three of them pop right off.
Frustrating? Absolutely. But it’s also fixable. I’ve repaired more diamond paintings than I can count, and the cause is almost always one of four things. Here’s how to diagnose the problem and fix it in minutes - not hours.
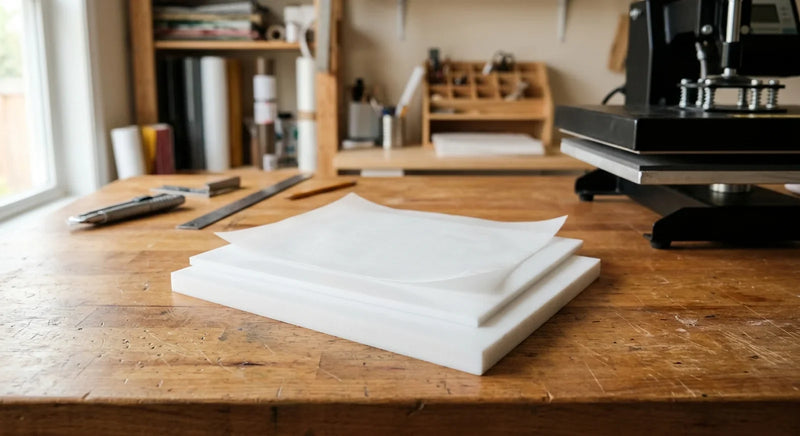
(Not sure which drill shape to use? Our round vs square drill comparison breaks down the differences.)
Why Are My Diamond Painting Drills Not Sticking?
The adhesive on your canvas has a shelf life. Most diamond painting canvases use a pressure-sensitive adhesive that stays tacky for 6 to 12 months if stored correctly. After that, it starts drying out.
But timing isn’t the only factor. Here are the four most common reasons drills fall off:
Problem: Dust and debris on the adhesive. Every time you expose a section of your canvas, airborne dust starts settling on the sticky surface. After 30 minutes of open exposure, adhesion drops noticeably. This is the number one cause I see.
Problem: Too much wax on the drill bottoms. Your diamond painting pen uses wax to pick up drills, and excess wax transfers to the flat side that’s supposed to bond with the adhesive. A thin film of wax between the drill and canvas means a weak hold.
Problem: Drills placed at an angle. Round drills need full flat-surface contact. If you’re rushing and placing them slightly tilted, only part of the base touches the adhesive. That’s maybe 60% contact instead of 100%.
Problem: The canvas wasn’t stored flat. Rolled or bent canvases create uneven surfaces. Drills placed on a curved section will pop off once the canvas flexes back.
The good news? Every one of these problems has a quick fix.
How Do You Reattach Drills That Have Fallen Off?
For drills that just popped off recently - within a day or two - you can usually press them right back on. Use the flat end of your diamond painting pen or a pair of craft tweezers to push each drill firmly onto the canvas. Press and hold for about 3 seconds. That extra pressure reactivates the adhesive bond.
If the adhesive has dried out in that spot, you’ll need a tiny drop of clear-drying craft glue. And I mean tiny. Dip a toothpick into the glue, touch it to the canvas square, then place your drill. Too much glue creates a raised bump that throws off the whole row.
Pro Tip: Work in small batches. Fix 10 to 15 drills at a time, then let the glue set for 5 minutes before moving to the next section. Rushing this step is how you end up with crooked rows.
For larger sections where multiple drills have come loose, remove all the loose drills first. Clean the exposed adhesive with a lint-free cloth (don’t use water). Apply a thin, even layer of craft glue across the section, wait 30 seconds until it gets tacky, then replace your drills. This method gives you a stronger bond than the original adhesive in most cases.
What Is the Best Way to Prevent Drills From Falling Off?
Prevention takes less time than repair. And that’s really the whole point.
Cover your work. This is the single biggest thing you can do. A silicone release paper sheet laid over your unfinished sections keeps dust off the adhesive and prevents accidental contact. I switched from the plastic cover that came with my kit to proper silicone paper about a year ago, and my drill adhesion improved overnight. The plastic covers tend to pull drills up when you peel them back - silicone paper releases cleanly without disturbing anything.
If you haven’t tried working section by section with a cover sheet, our complete guide to release paper for diamond painting walks you through the whole process. It’s the single most effective upgrade for keeping your canvas sticky.
Clean your hands before each session. Natural oils from your skin break down the adhesive faster than almost anything else. A quick wash with soap and water before you start adds weeks of tackiness to your canvas.
Store your canvas flat, not rolled. Use a large cutting board or portfolio case. If you must roll it, roll drills facing outward so they don’t get pressed and shifted.
And go easy on the wax. You need just enough to pick up one drill at a time. If your pen is grabbing multiple drills or leaving visible wax residue, you’ve loaded too much. Tap the pen tip once into the wax pad and that single application should last 15 to 20 placements.

Can You Seal a Diamond Painting to Keep Drills in Place?
Yes, and you should - once you’re finished. Sealing is the permanent fix!
There are two main approaches. A brush-on sealant gives you the most control. Apply a thin coat across the entire surface, working in one direction. The sealant fills the tiny gaps between drills and locks everything down. Two coats give you the best protection. Wait 2 hours between coats.
Spray sealants are faster but less precise. Hold the can 10 to 12 inches from the surface and use light, even passes. Three light coats beat one heavy coat every time. Heavy coats can pool between drills and create a cloudy look.
Before you seal, do one final check. Press down every section of your canvas firmly with a flat tool or rolling pin over a silicone mat. This seats every drill fully into the adhesive. I spend about 5 minutes on this step for a standard 30x40cm canvas. It’s boring, but it catches any drills that are sitting slightly high.
One thing to know: sealing changes the finish slightly. Glossy sealants add shine (great for round drills). Matte sealants reduce sparkle but give a more polished, framed-art look. Test your sealant on a small corner first.
For tips on displaying your finished work after sealing, check out our guide on how to frame your finished diamond paintings.
What Tools Make Diamond Painting Easier and More Reliable?
The right tools cut your error rate and your frustration. Here’s what I’d actually spend money on, in order of impact:
A quality release paper cover sheet. This one tool prevents 80% of the adhesion problems I see. Silicone-coated craft paper releases cleanly, protects the adhesive from dust, and lasts through multiple projects. It’s maybe $12 for a pack that lasts months. Compare that to the cost of a replacement canvas when your adhesive dries out - that’s $25 to $40 depending on size.
Small glass containers for drill storage. Keeping your drills sorted and sealed prevents them from collecting dust. Glass jars in 5ml to 7ml sizes are perfect for this. They’re airtight, you can see the colors at a glance, and they won’t tip over like plastic bags. Our post on diamond painting storage solutions covers more organization ideas.
A light pad. Not strictly related to drill adhesion, but a backlit canvas makes it way easier to see where drills are sitting unevenly. Uneven drills are drills that will eventually fall off. You can find basic light pads for around $15 to $20.
Good tweezers. Not the cheap ones that come in starter kits. Invest in precision-tip craft tweezers that let you grab and reposition individual drills without disturbing the ones around them.
According to the Craft Industry Alliance, diamond painting has become one of the fastest-growing craft categories in recent years. And the American Art Therapy Association has noted the meditative benefits of repetitive craft activities like diamond painting. So you’re in good company if this hobby has grabbed you!

Shop Diamond Painting Supplies
Keeping your drills locked down starts with the right supplies. Our diamond painting accessories collection has everything from silicone cover sheets to storage solutions - all picked for diamond painters who want their work to last. Browse the full diamond painting supplies and grab what you need before your next session.
Drills falling off your diamond painting isn’t a sign that something’s wrong with the canvas or the drills themselves. It’s almost always an environmental or technique issue. Cover your work, clean your hands, go easy on the wax, and press firmly when you place each drill. Do those four things and you’ll spend your time painting - not repairing.
If you know someone struggling with these same drill issues, our diamond painting gift guide covers the practical supplies that prevent these problems from the start.