I’ve gone through more craft release paper than I care to admit. Most of it was garbage. Thin, flimsy stuff that tore the second I tried to smooth it back down over my drills. Then I found silicone-coated release paper, and it changed how I approach every diamond painting project. Ask me how I know.
If you’re still using the plastic film that came with your kit, you already know the frustration. Period. It curls, it sticks to itself, it lifts drills when you peel it back, and once you’ve folded it a few times, it never lies flat again. Release paper solves all of these problems, and it costs almost nothing per session.

What Is Release Paper?
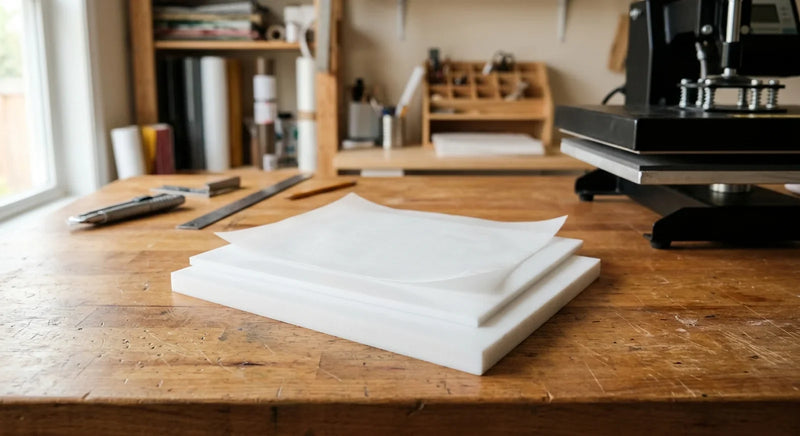
Release paper is regular paper with a thin silicone coating on one or both sides! That coating creates a surface with extremely low surface energy, which is a technical way of saying almost nothing sticks to it. The adhesive on your diamond painting canvas can’t bond to silicone the way it bonds to plastic or bare fingers.
Release paper is a coated sheet material designed to protect adhesive surfaces and provide a non-stick barrier, commonly used in diamond painting as a cover sheet to protect the sticky canvas while working section by section.
This is different from parchment paper, even though they look similar. Parchment paper gets a light acid treatment or a thin silicone wash designed to handle cookie dough and butter. Diamond painting adhesive is much stickier than cookie dough. The heavier silicone coating on true release paper handles that stronger adhesive without problems.
The practical difference shows up immediately. Parchment paper works for maybe one or two sessions before the coating wears through and starts sticking. Real silicone release paper lasts through dozens of sessions, peeling cleanly every time.
Why Does the Plastic Cover Film Fall Short?
Every diamond painting kit ships with a clear plastic film over the adhesive canvas! It works. Technically. But here’s what happens in practice:
The film is designed to be removed all at once, not peeled back and repositioned repeatedly. Every time you fold it back to expose a section, the fold creates a permanent crease. After three or four repositions, that crease becomes a ridge that sits above your working surface. Drills near the crease don’t sit flat.
Static electricity is the other problem. Plastic film builds up static as you peel it, which attracts loose drills and dust. I’ve had drills jump off my canvas and stick to the underside of the film. You end up spending time picking stray drills off the cover instead of placing them where they belong.
Release paper doesn’t build static. It doesn’t crease permanently. And it peels away from adhesive cleanly because the silicone coating prevents bonding.
How Do You Use Release Paper for Diamond Painting?
The technique is simple, but there are a few details that make a real difference.
Cut the release paper to match your canvas size! You want full coverage so no adhesive is exposed when you’re not working. If your canvas is larger than your paper (a common issue with standard letter-size sheets), use two overlapping pieces.
Remove the original plastic film completely. This feels wrong the first time, but it’s the right move. The plastic film has already creased and started losing its effectiveness. Replace it entirely with your cut release paper.
When you’re ready to work, peel back just one section of the release paper, roughly a 5 x 5 cm area. Complete that section, then smooth the paper back down. The silicone coating means it won’t bond to the adhesive or disturb any placed drills.

How Does the Section-by-Section Method Work?
Working in small sections is the single most important technique in diamond painting, and release paper makes it practical.
Here’s why sections matter: exposed adhesive collects dust, pet hair, and skin oils. The longer adhesive stays exposed, the weaker it gets. A canvas that’s been fully exposed for an hour holds drills noticeably worse than one that’s been covered and only exposed in small working areas.
With the original plastic film, section work is awkward. You've to fold the film precisely, and it fights you every step. One wrong fold and you’ve exposed more canvas than intended.
With release paper, you just lift one edge and fold it back to your working line. When you’re done with that section, lay it back down. No fighting, no static, no permanent creases. The paper sits flat every time because it’s paper, not stiff plastic.
Why Does Paper Thickness Matter More Than You Think?
Not all release paper is the same thickness, and this matters for diamond painting.
Thin release paper (under 80 gsm) tears easily when you peel it from sticky adhesive. You end up with fragments stuck to your canvas that are annoying to remove. Thin paper also doesn’t provide much protection if you accidentally press on it, the adhesive can grab through the paper.
Medium weight (80-120 gsm) is the sweet spot. It’s thick enough to resist tearing, thin enough to fold and reposition easily, and stiff enough to lie flat over your canvas without drooping into placed drills.
Heavy release paper (over 120 gsm) works fine for surface protection but it’s harder to fold precisely for section work. It’s better suited for heat press projects where you need rigidity.
I’ve settled on paper in the 90-100 gsm range. It handles the peel-and-replace cycle without tearing, and it’s flexible enough to fold neatly along section lines. For more on this, check out our beginner diamond painting.
Should You Choose Legal Size or Letter Size?
Standard letter-size release paper (8.5 x 11 inches) covers most small to medium diamond painting canvases. But if you’re working on anything larger than about 30 x 25 cm, you’ll need to overlap sheets or trim from a larger roll. For more on this, check out our getting started with diamond painting.
Legal-size release paper (8.5 x 14 inches) gives you three extra inches of coverage. That doesn’t sound like much, but it means full coverage on medium canvases without overlapping, and better coverage on large canvases with fewer pieces. For more on this, check out our organizing diamond painting drills.
For large canvases (50 x 70 cm and up), I cut from a roll rather than using pre-cut sheets. One continuous piece of release paper over the entire canvas is much easier to manage than multiple overlapping sheets that can shift during a session.

Reusability: How Long Does a Sheet Last?
A good sheet of silicone release paper lasts through 15-25 diamond painting sessions before the coating starts wearing thin. Your mileage depends on how aggressively you peel it (gentle is better) and whether you’re working with particularly sticky canvases.
You’ll know a sheet is wearing out when you start feeling slight resistance during peeling. Fresh release paper lifts off adhesive with zero effort. Once you feel even a little tug, the silicone coating is thinning and it’s time for a new sheet.
Store used release paper flat between sessions. Rolling or crumpling it cracks the silicone coating along the stress lines, which creates weak spots where adhesive can grab. A large folder or a flat drawer works well.
What Release Paper Mistakes Should You Avoid?
Using the wrong side. If your release paper is coated on only one side, the coated side goes against the adhesive. The uncoated side feels like regular paper. The coated side feels slippery, almost waxy. If drills are sticking to your cover, you’ve got it upside down.
Cutting too small. Your release paper should extend at least 2 cm beyond the adhesive area on all sides. A piece that barely covers the adhesive will shift during work and expose edges.
Not replacing worn sheets. Some people try to stretch a single sheet through an entire large project. If a project takes 50+ hours, you’ll likely need 2-3 sheets over its lifetime. The cost is minimal compared to losing adhesive strength from a worn-out cover.
What About Other Cover Options?
Some diamond painters use plastic wrap, wax paper, or freezer paper as alternatives. None of these work as well as silicone release paper.
Plastic wrap has the same static problems as the kit film, plus it clings to everything and wrinkles constantly. Wax paper can transfer soft paraffin onto the adhesive, reducing its sticking power. Freezer paper’s plastic coating is too stiff for precise section work.
Silicone release paper was designed for exactly this type of repeated adhesive contact. It’s not a workaround or a hack. It’s the right tool for the job.
Shop Related Products
What Should You Remember?
If you’re serious about diamond painting, release paper should be in your toolkit alongside your drills, pen, and tray. It costs a few dollars for a pack that lasts months, and it solves the single biggest frustration in diamond painting: managing your canvas adhesive.
Your canvases will stay stickier longer. Your sections will be cleaner. And you’ll never have to peel a static-charged plastic film off your drills again. That alone is worth it. At Kraft & Kitchen, we carry the supplies you need to make every project easier.